However, for the tech enthusiast, this device proved to be quite a challenging buy (at least initially). For the unaware, the general approach to root any Samsung device involves downloading the firmware. After that, you need to extract the AP file, patch it via Magisk, and then flash it via Odin. However, when these steps were implemented with this device, it always ended up in a bootloop. Upon further investigation, the developers found out that issue was with the original Magisk app itself. So they made a few underlying code changes in the app (explained in the end) to make it compatible with this device. The results? Well, you could now easily root your Samsung Galaxy A21s via Magisk without any issues. And in this guide, we will show you how to do just that. Follow along.
Benefits and Risks of Rooting Samsung Galaxy A21s
Once you root your device, you will be in a position to flash a plethora of mods. These include the likes of Fox Magisk Modules , Substratum Themes, Xposed Framework via LSPosed, Viper4Android among others. Along the same lines, you could also flash a custom kernel and implement your desired CPU profile. However, such tweaks do come in with a few risks as well. To begin with, rooting requires you to unlock the bootloader- which will wipe off all the data and could nullify the warranty as well. Likewise, SafetyNet will be triggered [FIXED] which will result in your inability to use banking apps [FIXED]. So if all that’s well and good, then let’s get started with the steps to root your Samsung Galaxy A21s via Magisk patched AP file.
How to Root Samsung Galaxy A21s via Magisk Patched AP
The below instructions are listed under separate sections for ease of understanding. Make sure to follow the same sequence as mentioned below. Droidwin and its members wouldn’t be held responsible in case of a thermonuclear war, your alarm doesn’t wake you up, or if anything happens to your device and data by performing the below steps.
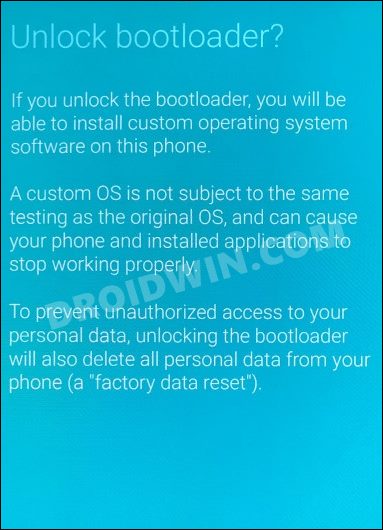
STEP 1: Unlock Bootloader on Galaxy A21s
First and foremost, you will have to unlock the bootloader on your device. Do note that doing so will trip Knox and reset your device. If that’s well and good, then you may refer to our guide on How to Unlock the Bootloader on Galaxy A21/A21s
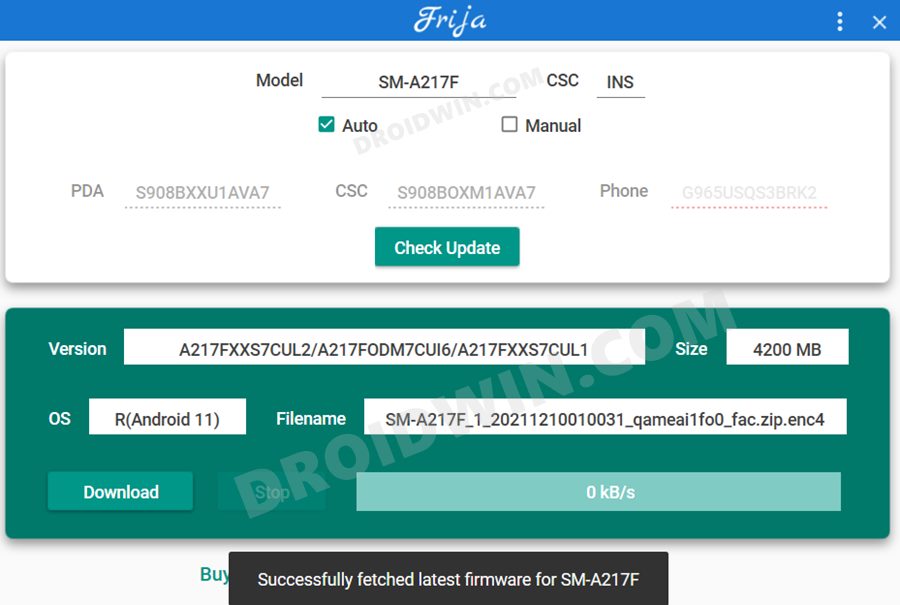
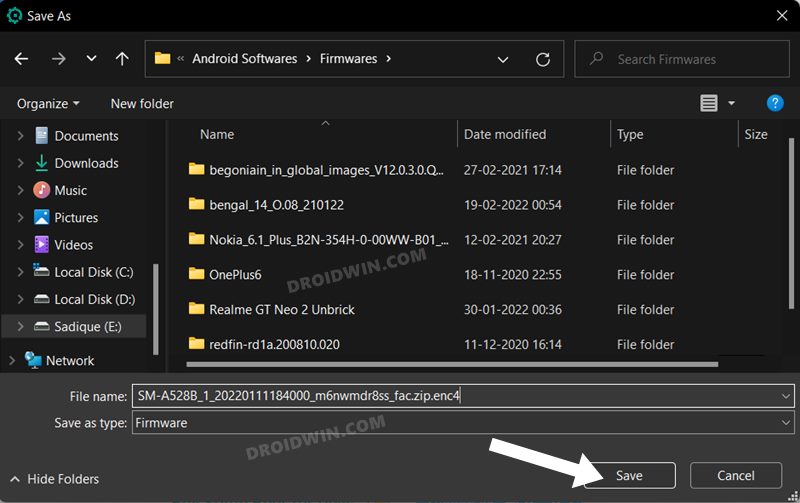
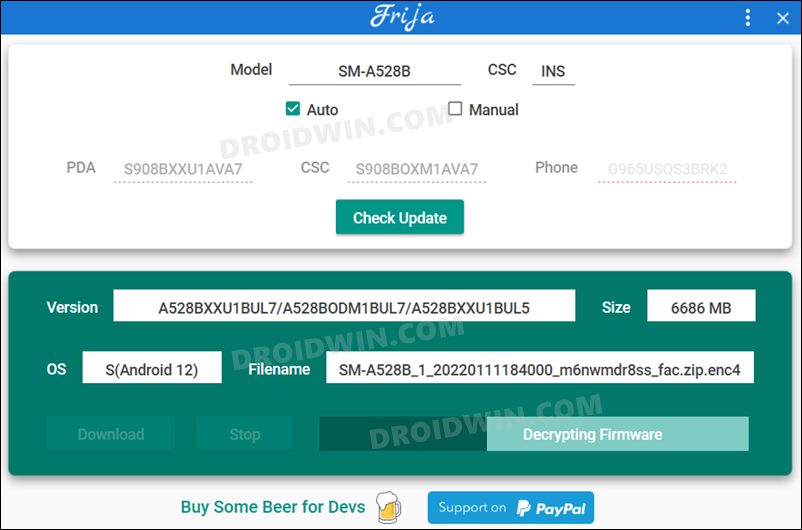
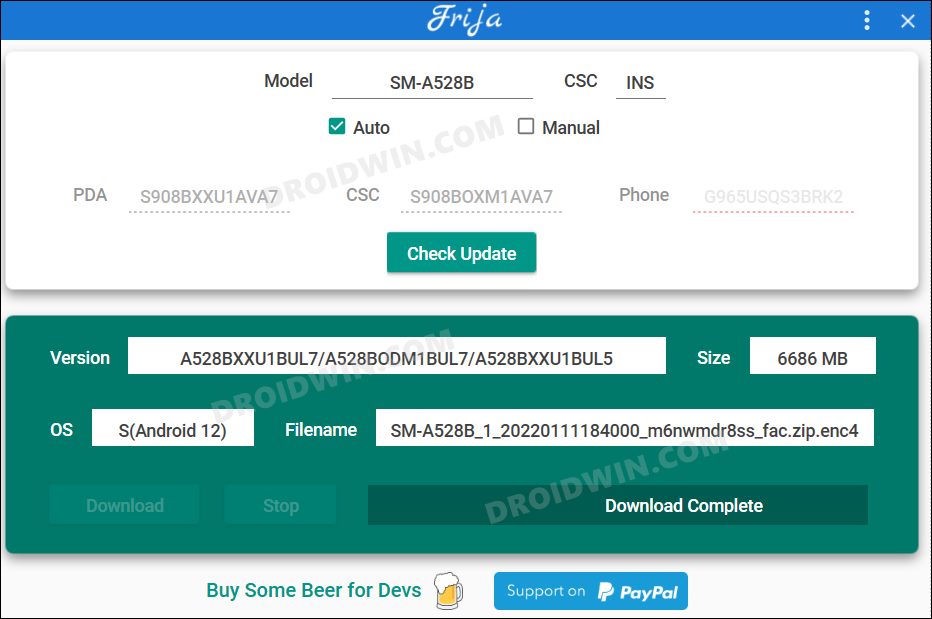
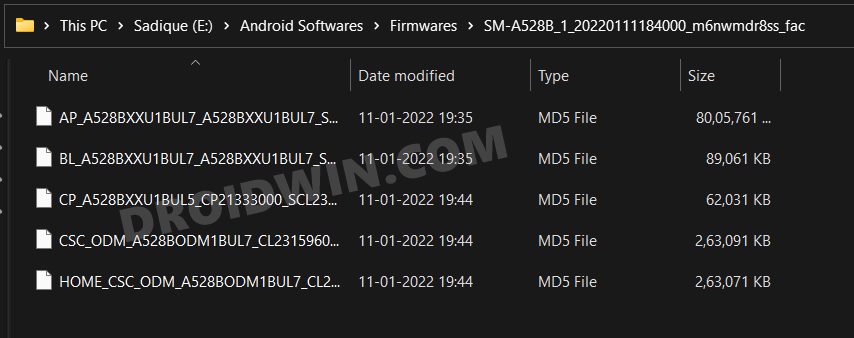
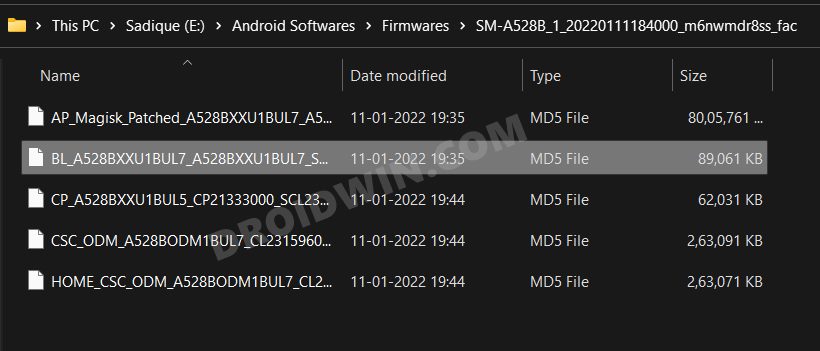
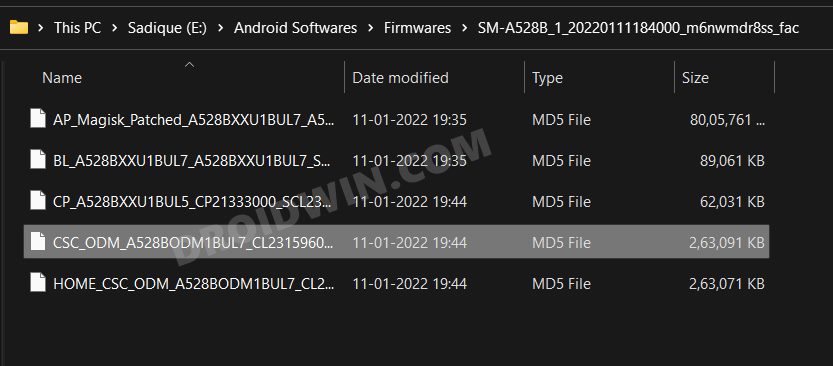
STEP 2: Download Galaxy A21s Stock Firmware
Next up, you will have to download the stock firmware for your device. For that, you may use the Frija Tool, SamLoader Tool, or websites such as SamMobile. As for this guide, let’s proceed with the Frija Tool. So check out our comprehensive guide on How to Download Samsung Stock Firmware/ROM via Frija Tool. Or you may refer to the below instructions as well:
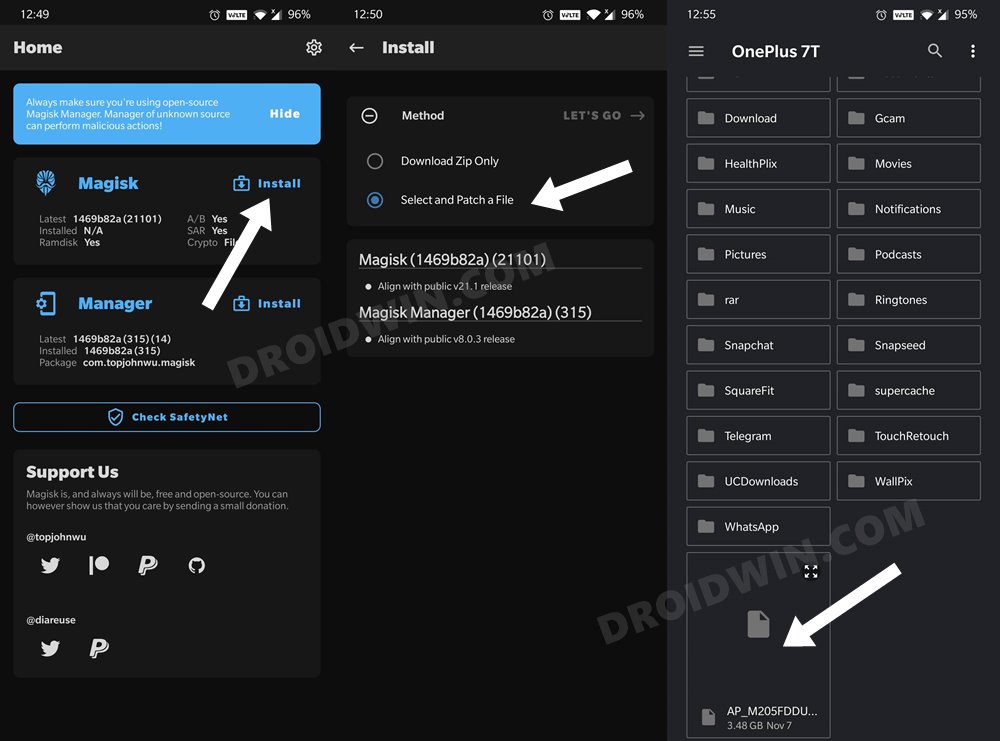
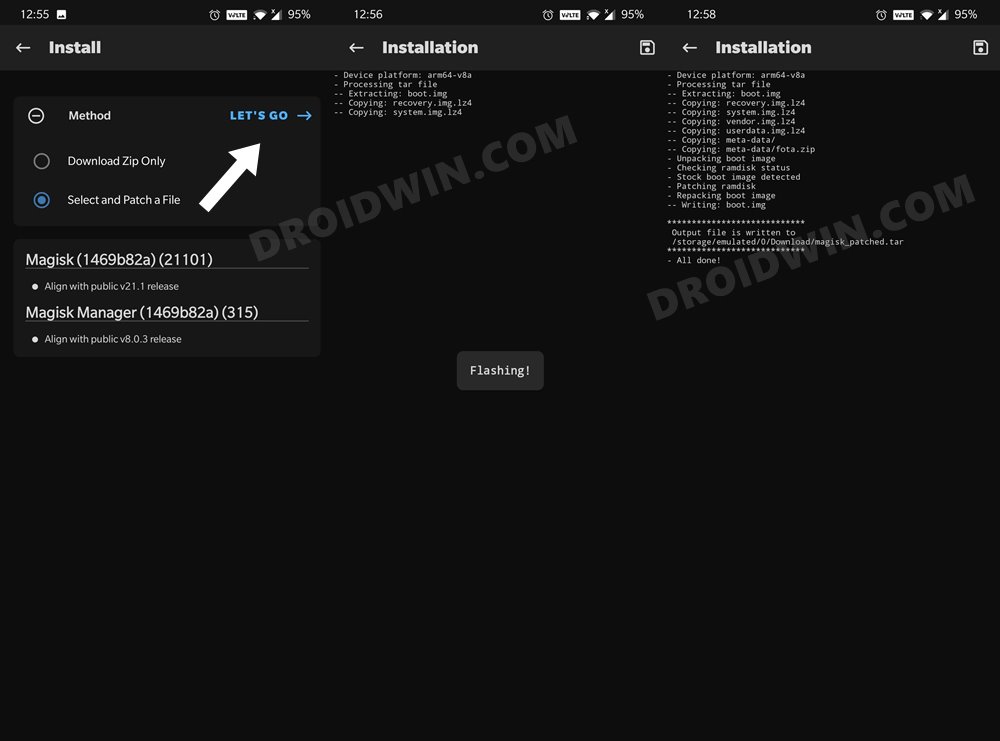
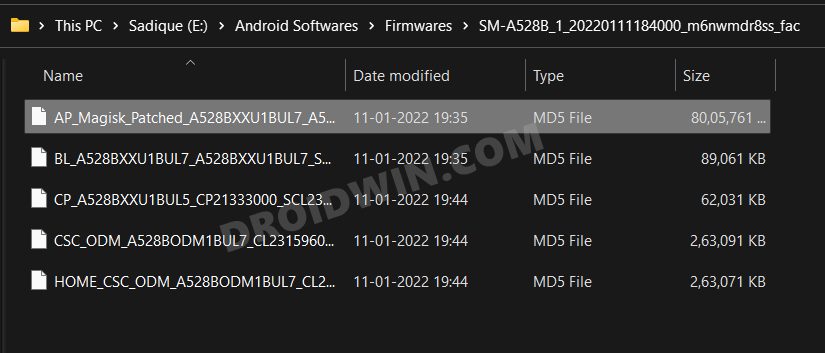
STEP 3: Patch Galaxy A21s AP via Magisk
STEP 4: Send Patched AP File to PC
You will now have to transfer this patched AP file to your PC. However, the normal USB method is known to cause some issues. Therefore, you should instead opt for the ADB Pull method. Here’s how it could be done:
STEP 5: Boot Galaxy A21s to Download Mode
You will now have to boot your Galaxy A21s device to Download Mode so that Odin is able to identify it and hence allows us to carry out the flashing of the patched AP file. So refer to our guide to Boot any Samsung Device to Download Mode. Or refer to our below direct instructions:
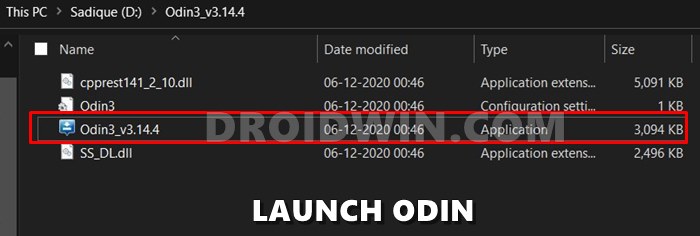
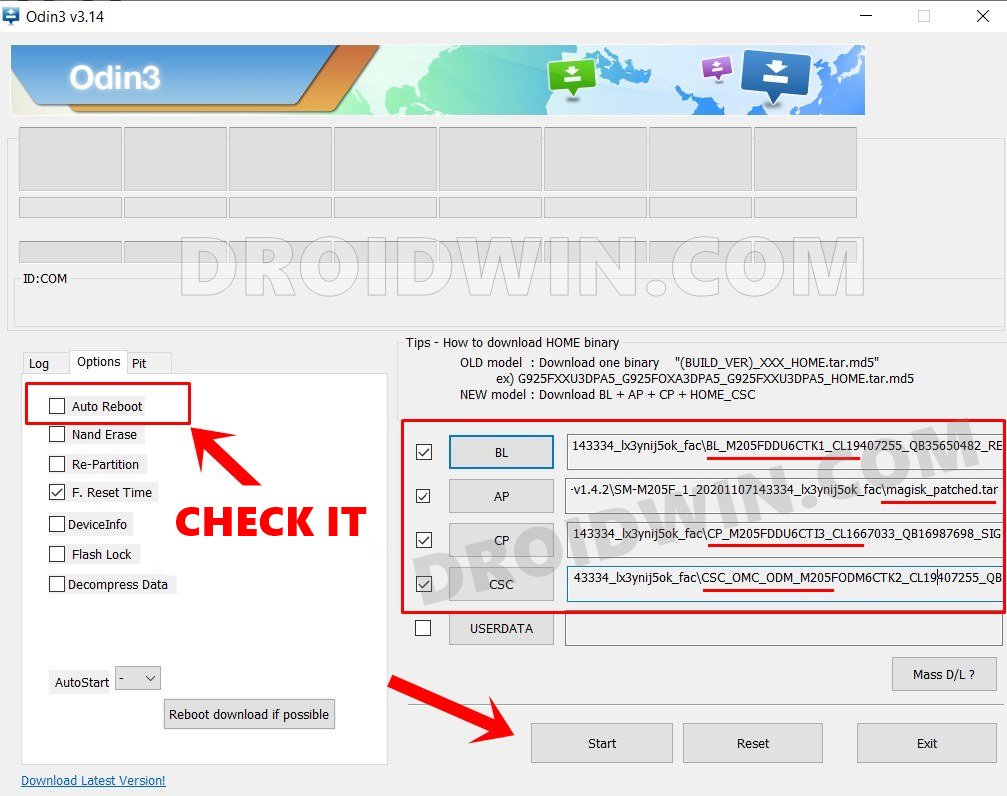
STEP 6: Install Odin
STEP 7: Flash Patched AP file via Odin and Root Galaxy A21s
That’s it. These were the steps to root your Samsung Galaxy A21s via Magisk Patched AP file. If you have any queries concerning the aforementioned steps, do let us know in the comments. We will get back to you with a solution at the earliest.
What is the Modified Magisk App?
According to XDA Member grccorps, the A21S is NOT a device that uses SARInit or skip_initramfs(A21S uses dynamic partitions and has boot ramdisk.). However, for some reason, A21’s kernel boot args (in dtb) has the line ‘skip_initramfs’, which caused magiskinit to incorrectly identify the device as a legacy SAR device. This caused Magiskinit to continue the boot process as SARInit when the boot process that A21S needed was FirstStateInit. As a test, I modified the source code in the magisk/native/jni/init/init.cpp from to This made the device boot successfully with root. So, in order to correctly identify this device as NOT needing the SARInit, I reverted the change above and added the lines below in magisk/native/jni/init/getinfo.cpp, above “LOGD(“Kernel cmdline info:\n”);” part: This will detect A21S and correctly identify it as a device that doesn’t need SARInit. To read more on this, do check out his impressive post here.
About Chief Editor